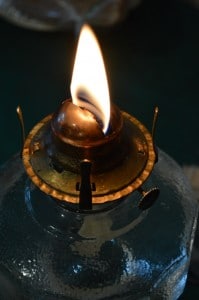
how to clean oil lamp burner Pin on cleaning
When it comes to antique items, caring for them can be a delicate process. Antique oil lamps are no exception, but with the right steps, you can keep them looking like new. Here’s our guide on how to clean antique oil lamps. Start by gathering your materials. You will need warm water, mild dish soap, cotton swabs, a soft-bristled brush, and a polishing cloth. Take caution when handling the glass pieces, as they can be fragile. Next, disassemble the lamp. Remove the chimney, and take out the burner and wick. Put the chimney aside and focus on cleaning the burner. Using a soft-bristled brush, gently brush away any debris or dirt on the burner. Cotton swabs can be used to get into smaller crevices. Once it’s clear of dirt, use warm water and mild dish soap to clean the burner thoroughly. Rinse it off with warm water and pat it dry with a soft cloth. After cleaning the burner, focus on the wick. If the wick is old or damaged, it’s best to replace it. If it’s still in good condition, remove it from the burner and clean it in warm, soapy water. Rinse it thoroughly with warm water and let it dry completely before replacing it. With the burner and wick taken care of, it’s time to clean the glass components. Start by filling a container with warm, soapy water. Gently wash the glass chimney with the soapy water, using a soft cloth to remove any dirt or grime. Rinse it thoroughly with warm water and pat it dry with a clean cloth. Finally, it’s time to reassemble the lamp. Place the wick back into the burner, and attach the burner to the lamp’s base. Replace the chimney, and you’re finished! Alternatively, if you’d like to convert an oil lamp to an electric one, it’s a straightforward DIY process. Purchase an electric oil lamp burner DIY conversion kit, which should come pre-wired and ready to use. Simply remove the old oil lamp burner from the base and replace it with the electric one. This is a great option if you’d like to use an antique lamp for decoration, but don’t want to deal with the hassle of purchasing oil and maintaining a wick. In conclusion, antique oil lamps may require some extra care compared to modern lamps, but with the right steps, you can keep them looking beautiful for years to come. Whether you choose to clean one that’s already been used or convert it to an electric lamp, you’ll have a unique, beautiful piece to light up any room.
If you are searching about How to clean antique oil lamps | Joybilee Farm | DIY | Herbs | Gardening you’ve came to the right place. We have 5 Images about How to clean antique oil lamps | Joybilee Farm | DIY | Herbs | Gardening like Electric Oil Lamp Burner DIY Conversion Kit Pre-Wired and Ready To Use, How to clean antique oil lamps | Joybilee Farm | DIY | Herbs | Gardening and also Electric Oil Lamp Burner DIY Conversion Kit Pre-Wired and Ready To Use. Here you go:
How To Clean Antique Oil Lamps | Joybilee Farm | DIY | Herbs | Gardening
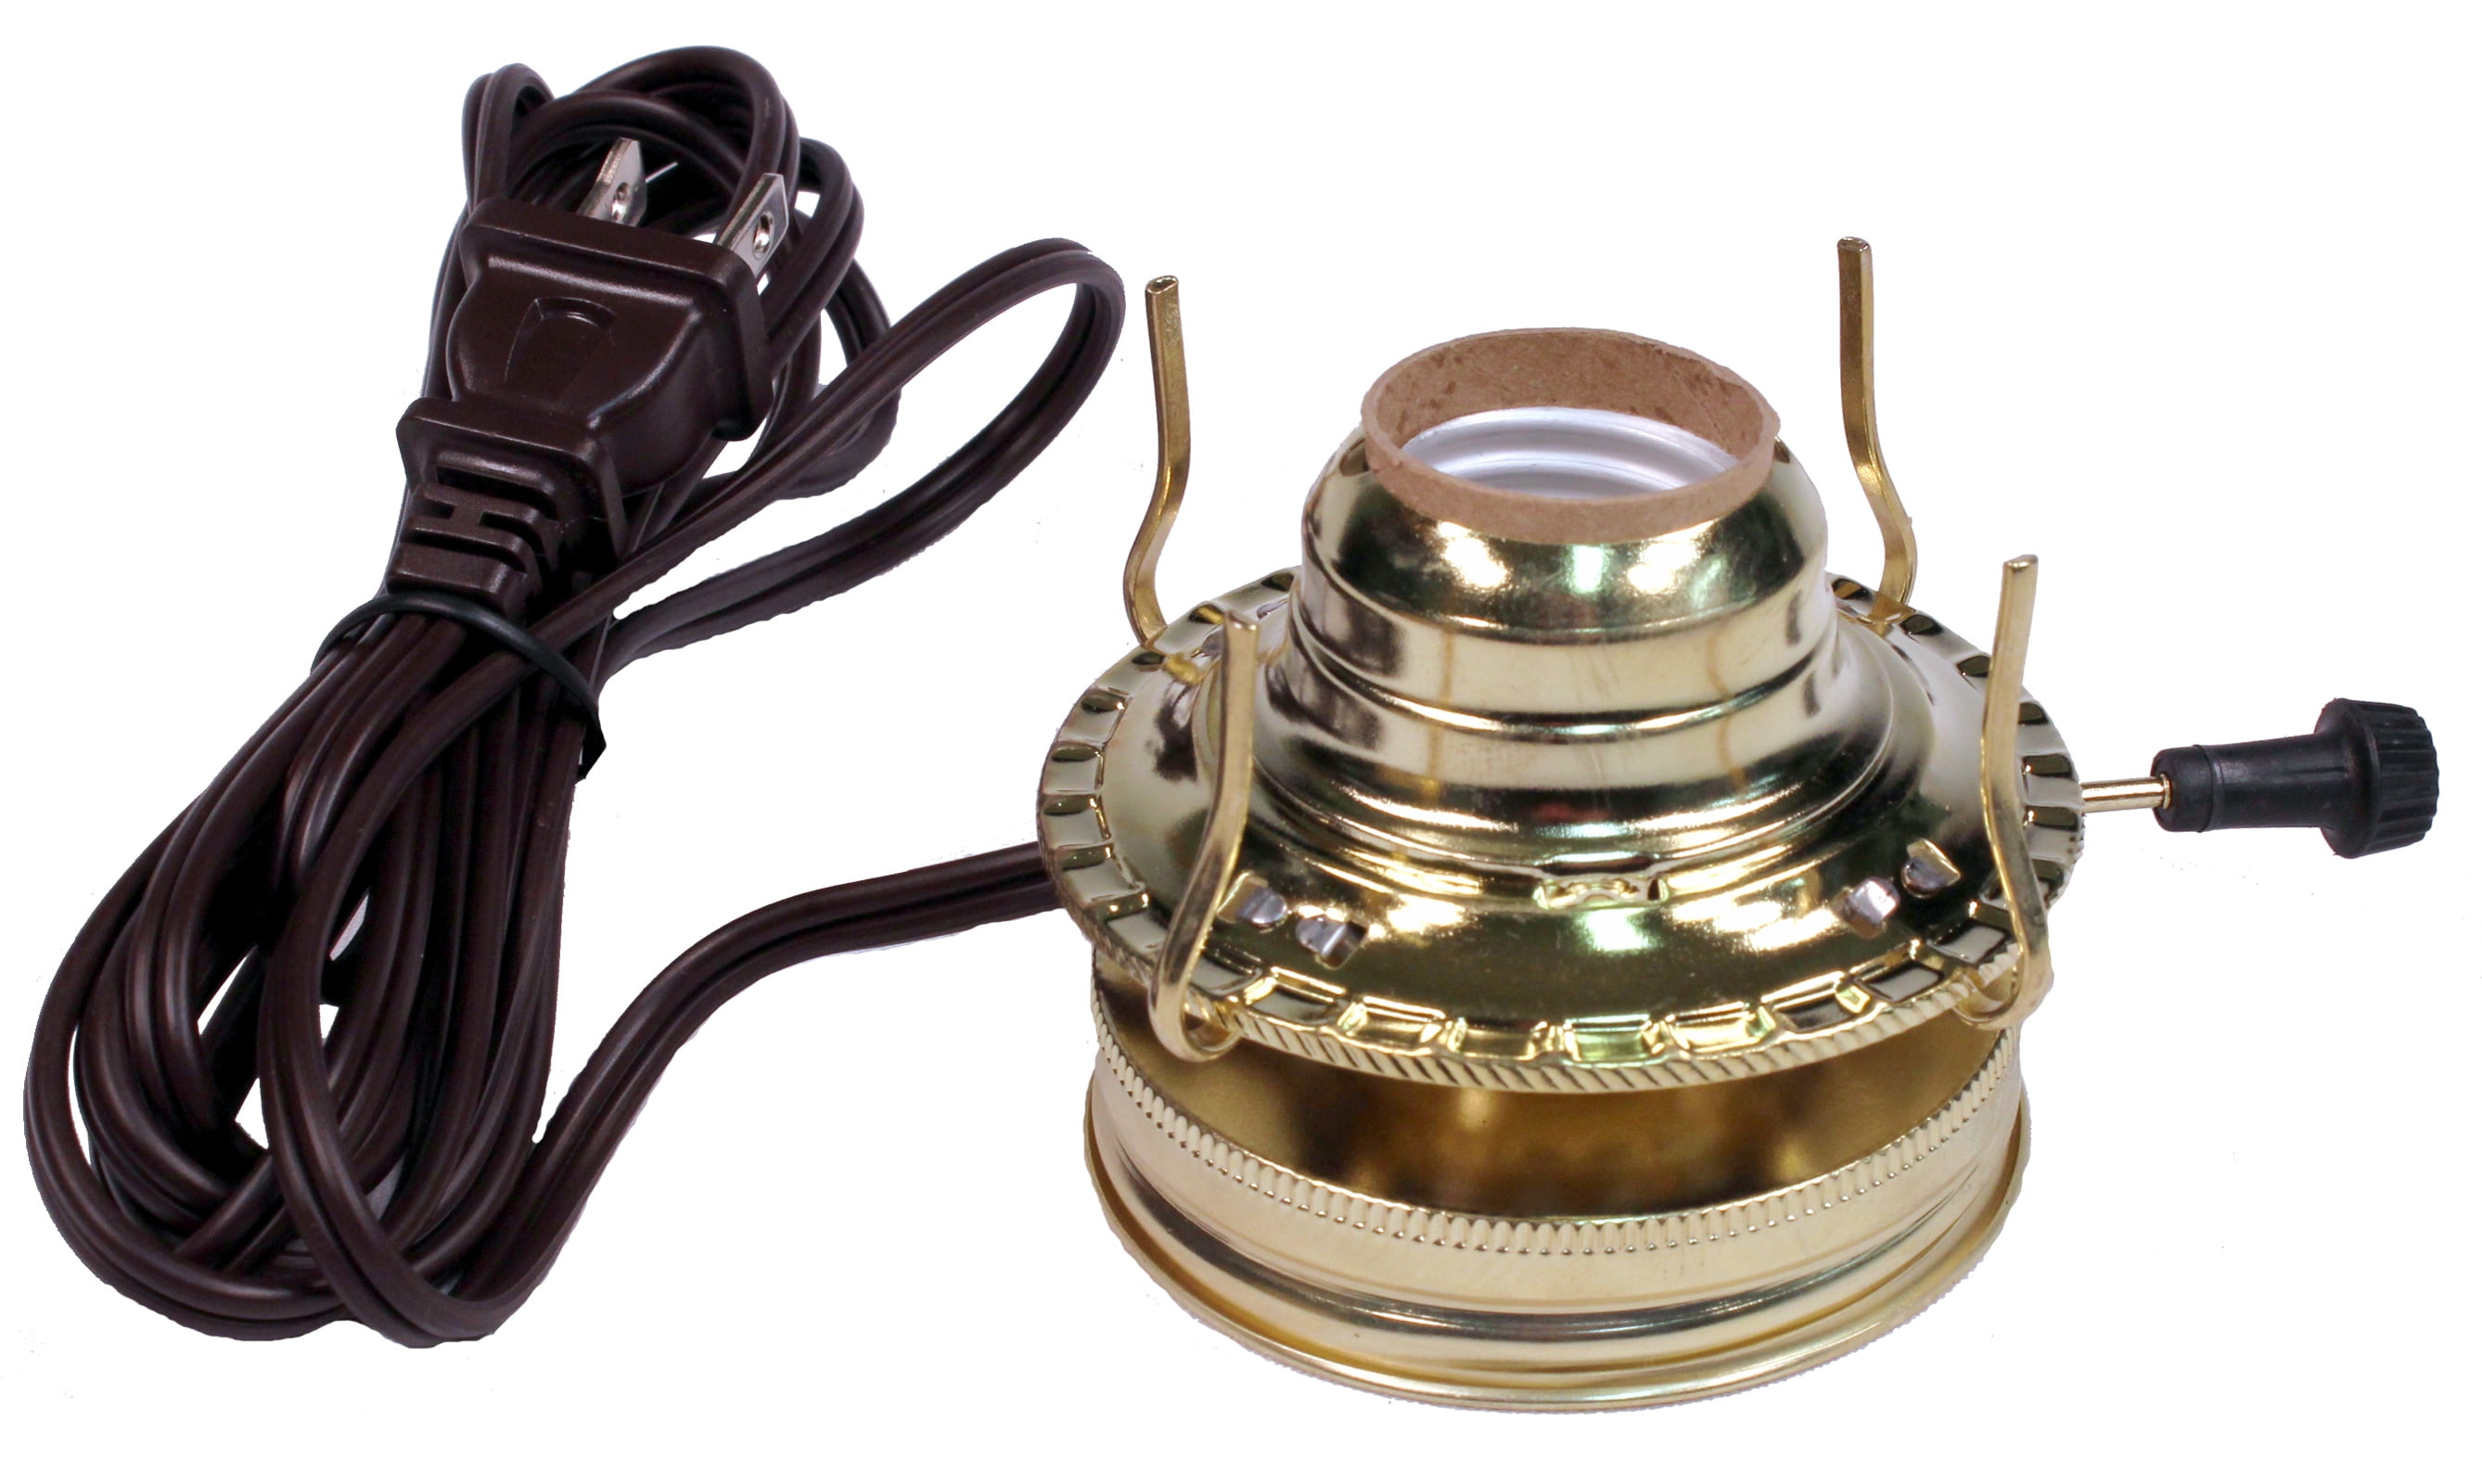
 joybileefarm.comElectric Oil Lamp Burner DIY Conversion Kit Pre-Wired And Ready To Use
 kairos.legalwired assistance
How Do I Burn Mineral Oil In Oil Lamps? | Hunker | Oil Lamps, Homemade
 www.pinterest.comHow To Clean Antique Oil Lamps - Joybilee® Farm | DIY | Herbs | Gardening
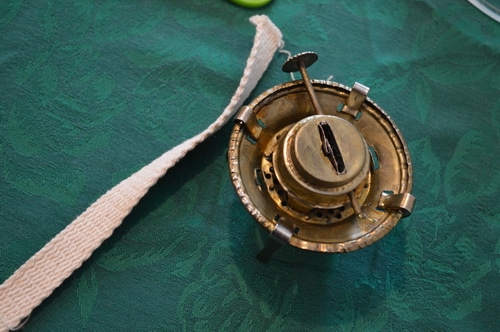 joybileefarm.comburner wick allow
Pin On Cleaning
 www.pinterest.comPin on cleaning. How to clean antique oil lamps. Wired assistance